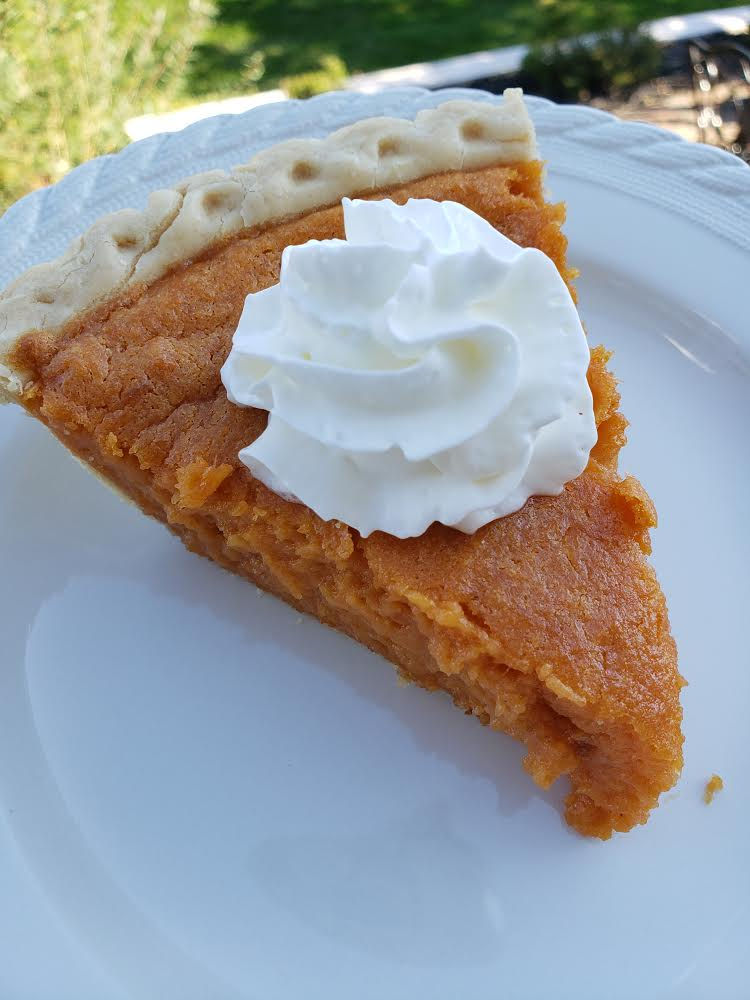
Chocolate pie? Oh, my!
- thesunnysutton
- Nov 10, 2020
- 3 min read
Updated: Nov 30, 2020
Nana’s Chocolate Pie
1/3 C All Purpose Flour
3/4 C Sugar
1/4 tsp Salt
1 Tbs Cocoa Powder
1 Can Evaporated Milk (12 oz)
4 oz Whole Milk
3 Egg Yolks
1 tsp Vanilla Extract
1 Tbs Butter
1 9” pie crust, baked
In a heavy sauce pan, whisk flour, sugar, salt, and cocoa powder together. In a large glass mixing cup, combine evaporated milk, milk, and egg yolks, whisking to combine.
**TIP! Use a 4 cup measuring cup for this. You should end up with 2 cups of milk total before you add the egg yolks.**
Slowly stir the milk mixture into the flour mixture in the sauce pan. Whisk until most of the lumps are broken up. Cook over medium heat, stirring constantly. You will want to constantly scrape the bottom and sides of the pan so that you don’t end up with lumpy filling. Keep cooking until the mixture thickens, stirring vigorously the entire time.
When mixture is thickened, remove from heat. Add butter and vanilla extract and stir until completely combined. Carefully pour the mixture into the baked pie crust and smooth so that the top is pretty. Let cool, then refrigerate. Serve with fresh whipped cream.
The holidays are no longer creeping up on us. They are now coming at us full force! This is the recipe for a holiday staple from my childhood! I don’t remember a Christmas when we didn’t have chocolate pie.
My Nana was quite a baker, and she tried to make sure that there were plenty of cookies, pies, and homemade rolls to keep us all happy. The chocolate pie was always a hit! She did try to make the recipe healthier, which you can certainly do. I don’t recommend it, but you can if you like! I will certainly share her recipe notes if you shoot me an email. This version is decadent and rich and I don’t think you should tinker with something that’s already perfect! Beside all of that, dessert is meant to be a treat! Let’s not toy with that!
Where pie crust is concerned, I honestly don’t make my own. It’s not something that I’ve ever had a desire to do, though I still may tackle it at some point. I even have my Nana’s no roll crust recipe, and I’ve never once tried it. Go figure! I gotta tell ya...there is ZERO shame in using store bought pie crust! All you have to do is follow the package directions for baking it with no filling. Then you make the filling - the delicious, chocolaty filling - and pour it right in! And added bonus on using frozen pie crust? No pie plate to wash or retrieve from someone’s house when the pie is gone! Now, I won’t bend on the whipped cream part. Use the real stuff. The stuff in the can is pretty, dependable, portable, and made from actual cream. Little short cuts like canned whipped cream can save your sanity during the hectic holiday season! The whipped topping from the freezer case certainly has its purposes, but using it on top of a pie isn’t acceptable in my world. I promise I will share some recipes for the whipped topping later on.
If you plan ahead just a bit, you can end your holiday meal with a fantastic, homemade dessert that will knock your family’s socks off! With zero prep the day of and the fact that this is actually better once its been refrigerated overnight, it may become a special occasion dessert for you, too! Now remember, the frozen pie crusts come two in a package. Why not make a sweet potato pie AND a chocolate pie? That’s my go-to formula for keeping my freezer pie crust free! I’m excited to hear about you reaching dessert maker, rock start status! I hope that this recipe helps!


Comments